Deploy the Network Security Appliance
Deploying Cloud One - Network Security Appliance
Don't not continue with these steps if you have already deployed the Network Security Managed Endpoint. The NS appliance is an alternative deployment method.
Amazon Web Services (AWS) allows you to scale your network deployment as needed without investing in hardware appliances. Deploy Network Security in AWS by placing Network Security instances inline within your AWS Virtual Private Cloud (VPC).

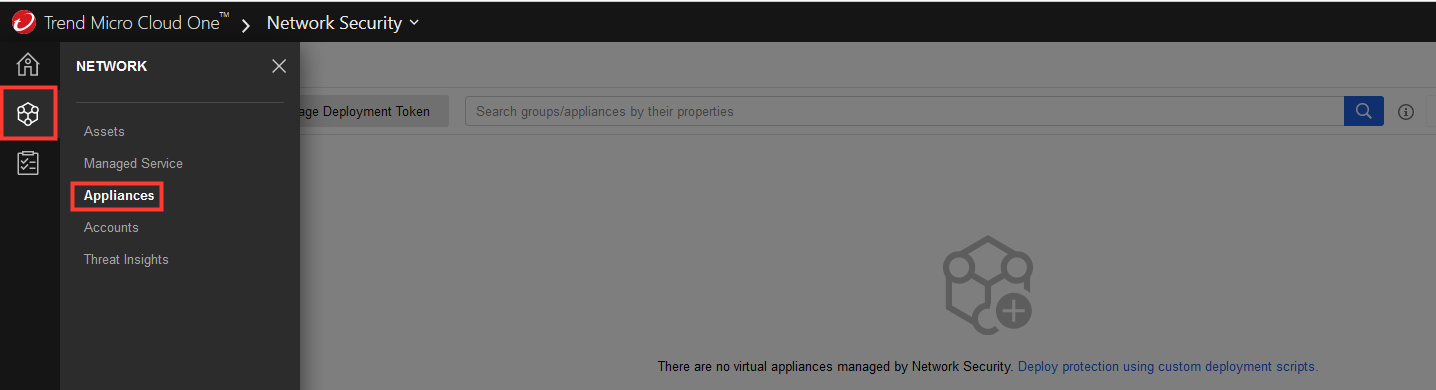
1. In the Cloud One Network Security console.
- Select the Network tab.
- From the option select, Appliances.
- Click the blue + button, to start the wizard.

2. Deploy protection.
- Select the cloud account created previously.
- Click Next: Select Asset.

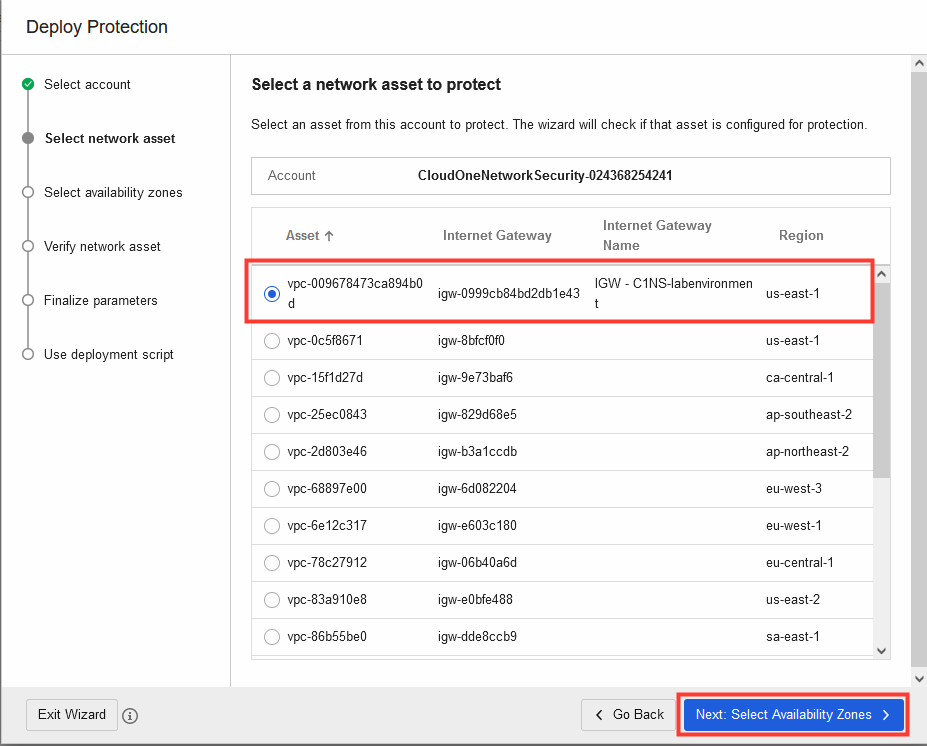
2. Select the VPC that you will deploy the Network Security Appliance.
- Select the VPC with the Internet Gateway Name:
IGW - C1NS-labenvironment - Click on Next: Select Availability Zones
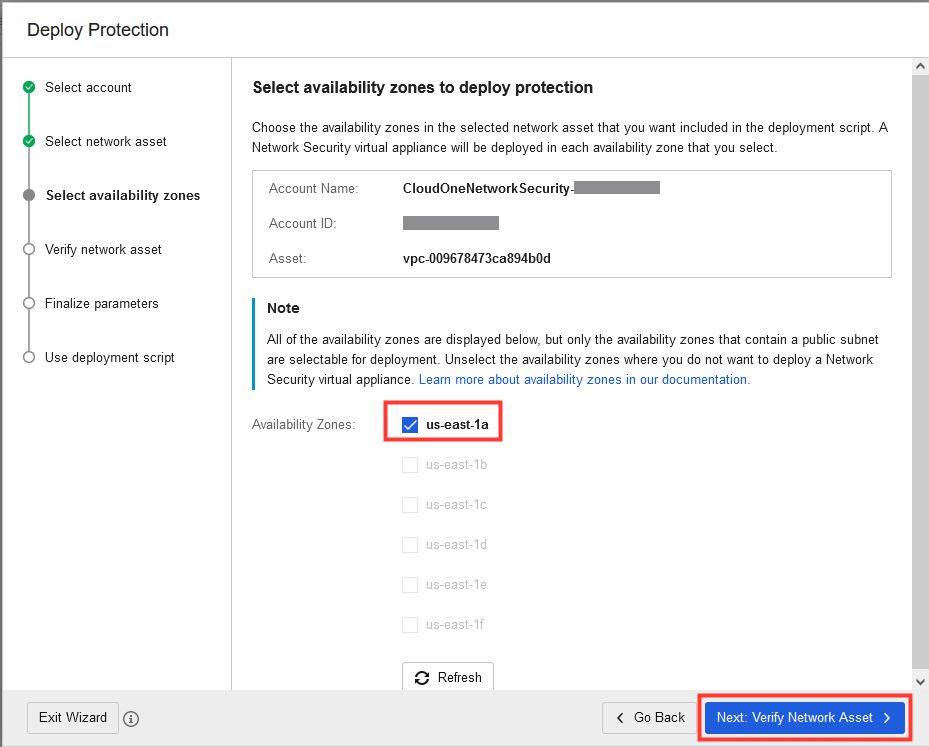
3. Here you can select the Availability Zone(s) that the Cloud One - Network Security Appliance will include in the deployment script.
- Select us-east-1a.
- Click on Next: Verify Network Asset
Leave as default with the one AZ selected for this workshop.
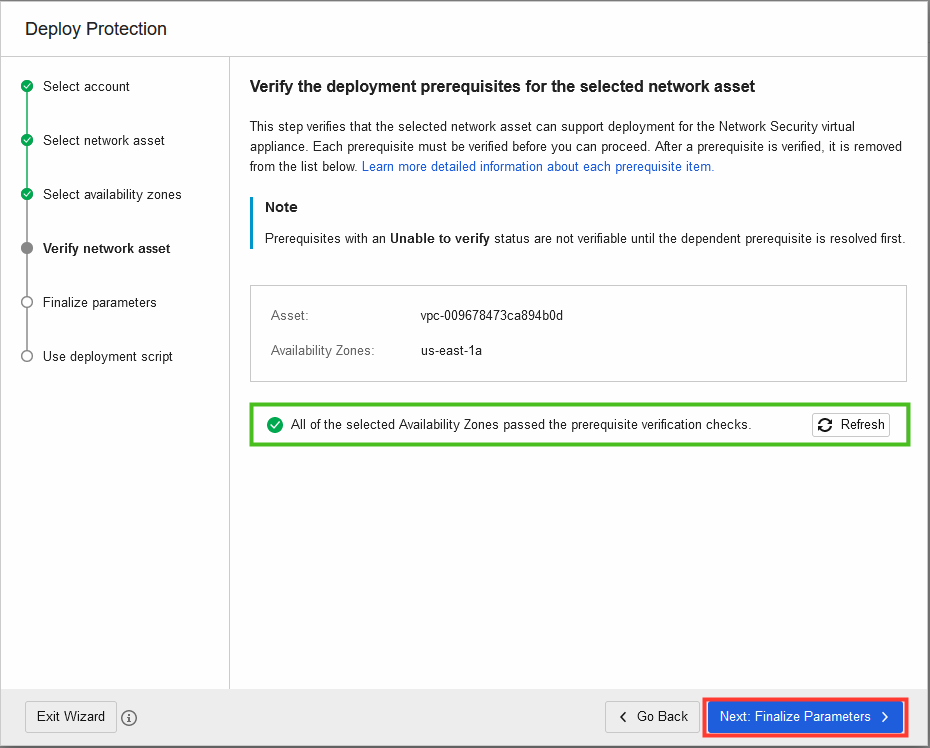
4. Verify Network Asset
This step verifies that the selected network asset can support deployment for the Network Security virtual appliance.
- Click on Next: Finalize Parameters
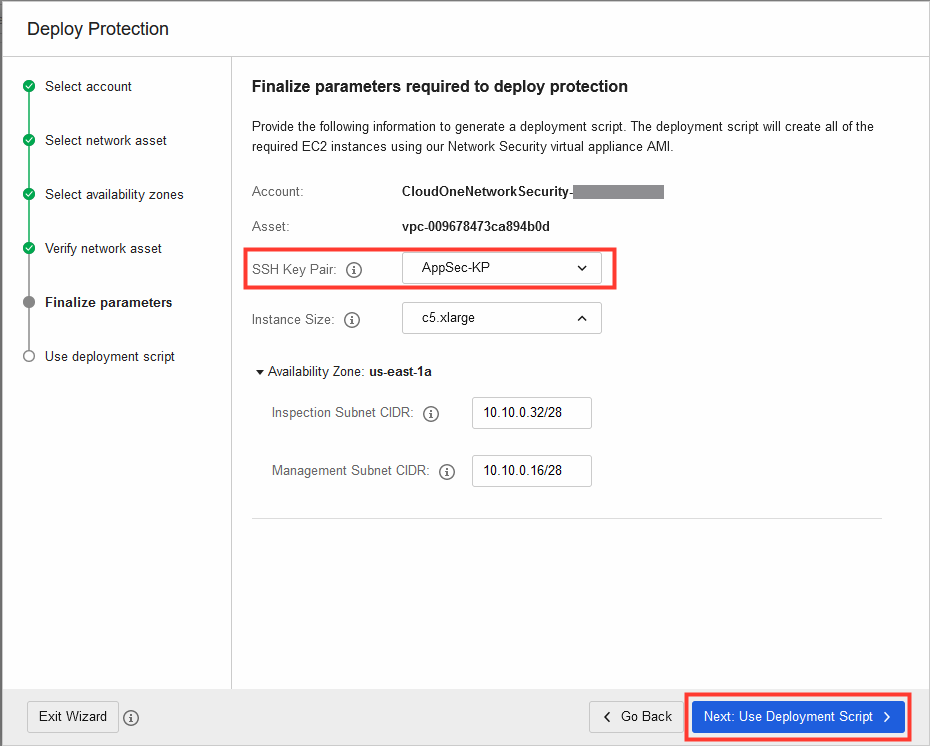
5. Finalize parameters
- Select the SSH Key Pair that we created before for this workshop
- Click on Next: Use Deployment Script
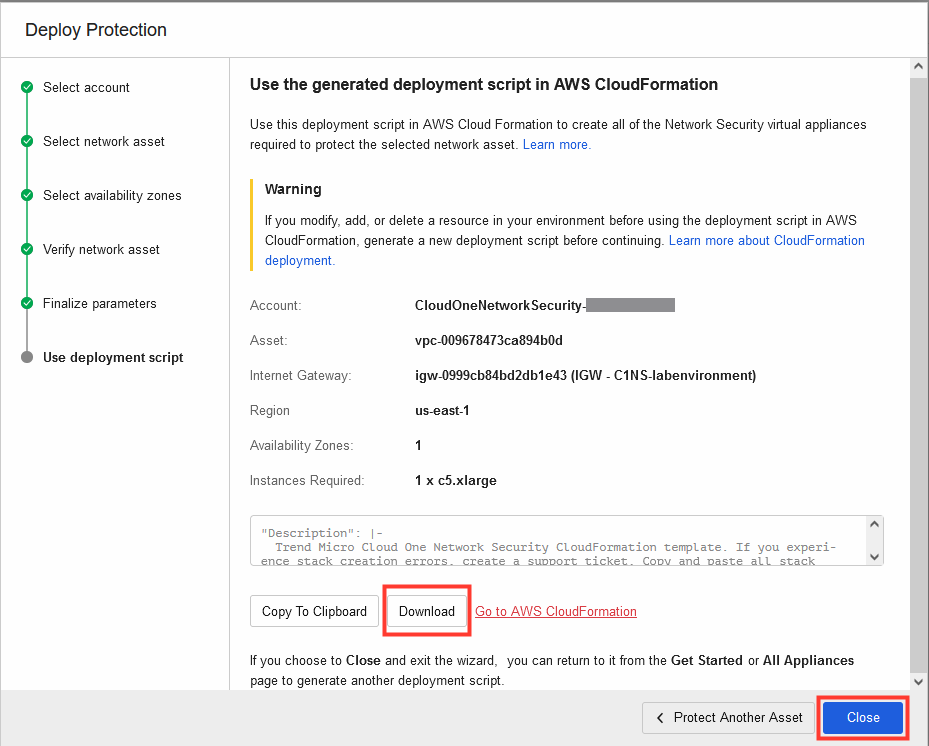
6. Click on Download to get the CloudFormation template
The CloudFormation template will create 2 new subnets for you, the Inspection and the Management subnets.
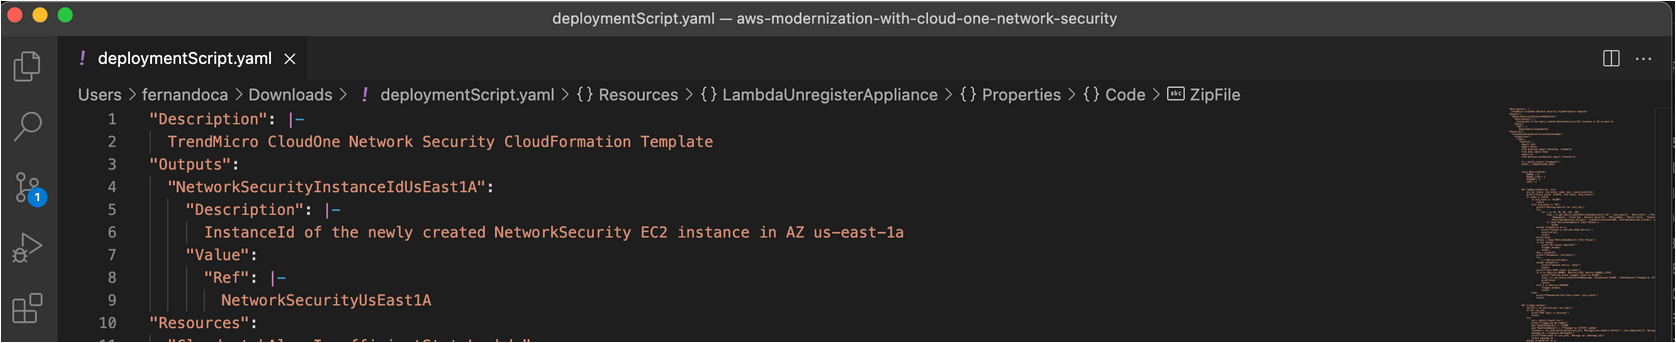
7. Edit the CloudFormation template (deploymentScript.yaml) downloaded previously from Cloud One console.
You can use any text editor or IDE. In our example we are using Visual Studio Code.
7.1 In an IDE, open the CloudFormation template that was downloaded called - deploymentScript.yaml
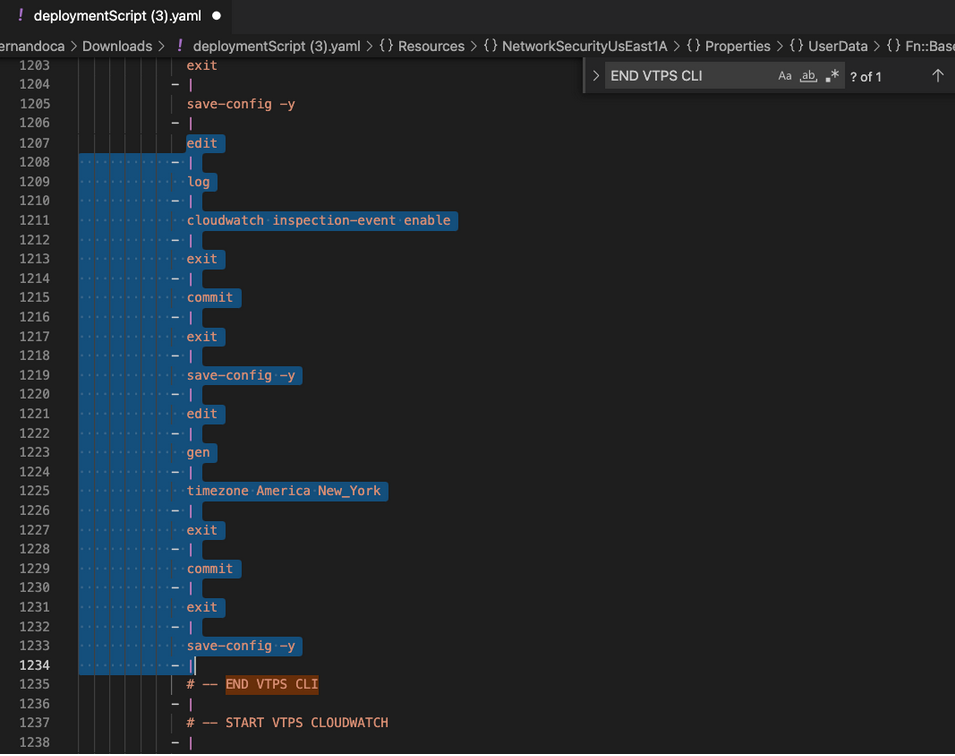
7.2 In the code, search for END VTPS CLI.
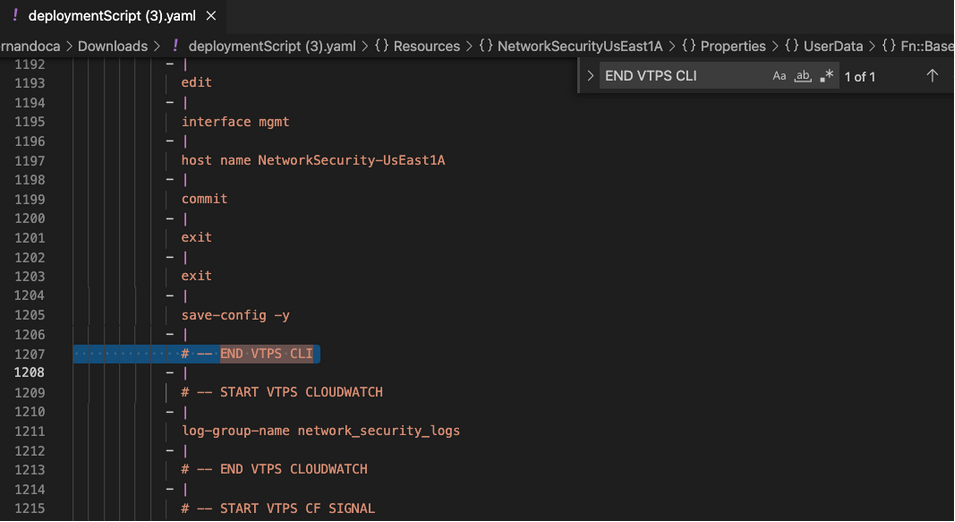
7.3 Add the code snippet provided ABOVE the line string with END VTPS CLI.
These lines are to enable the event forwarding to AWS CloudWatch using the America EST timezone.
  edit
- |
  log
- |
  cloudwatch inspection-event enable
- |
  exit
- |
  commit
- |
  exit
- |
  save-config -y
- |
  edit
- |
  gen
- |
  timezone America New_York
- |
  exit
- |
  commit
- |
  exit
- |
  save-config -y
- |
7.4 After making the changes, the code will be similar to the image below.
The selection are the lines that I added.
- Once changed, save the file.
Be careful with the indention of the code, otherwise the template format may break.
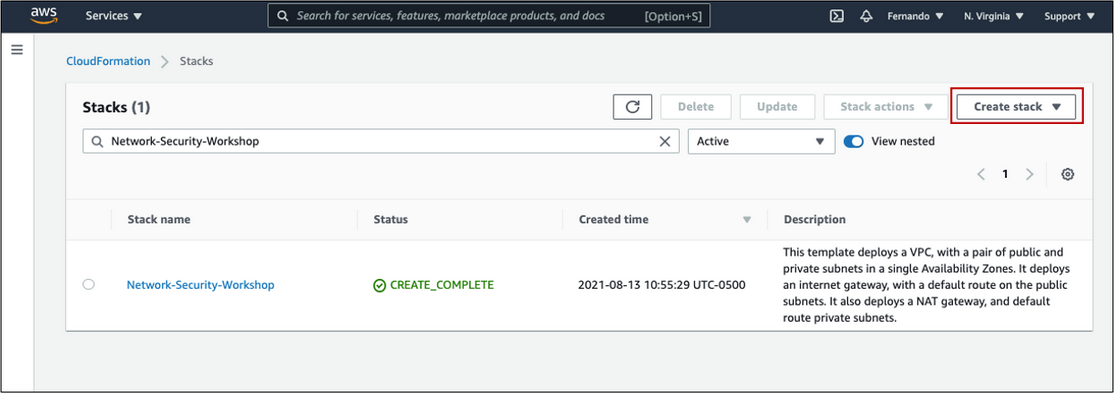
8. Navigate to the AWS Console
- Navigate to CloudFormation
- Click on Create Stack with new resources
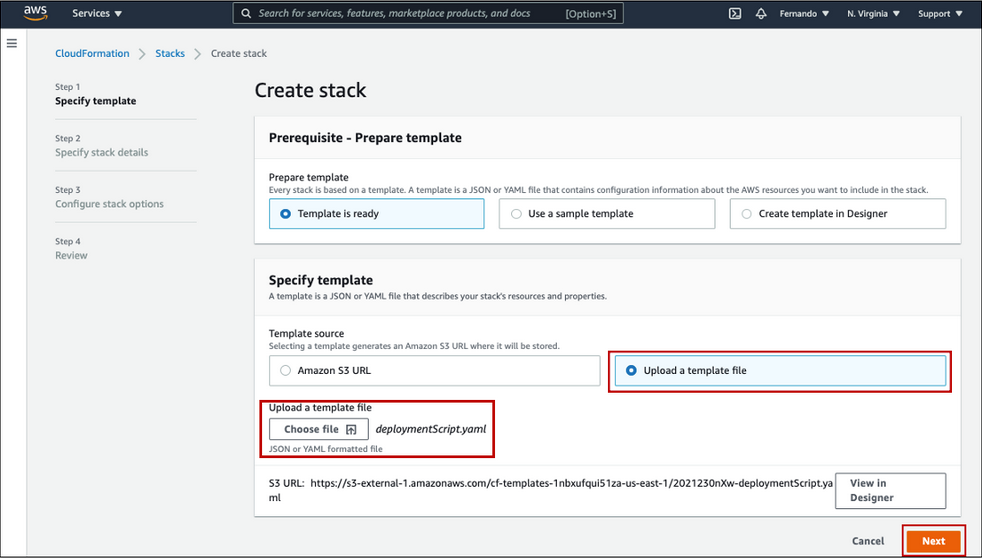
9. Create Stack
- Select the Upload a template file
- Click on Choose file
- Choose the CloudFormation template: deploymentScript.yaml
- Click on Next
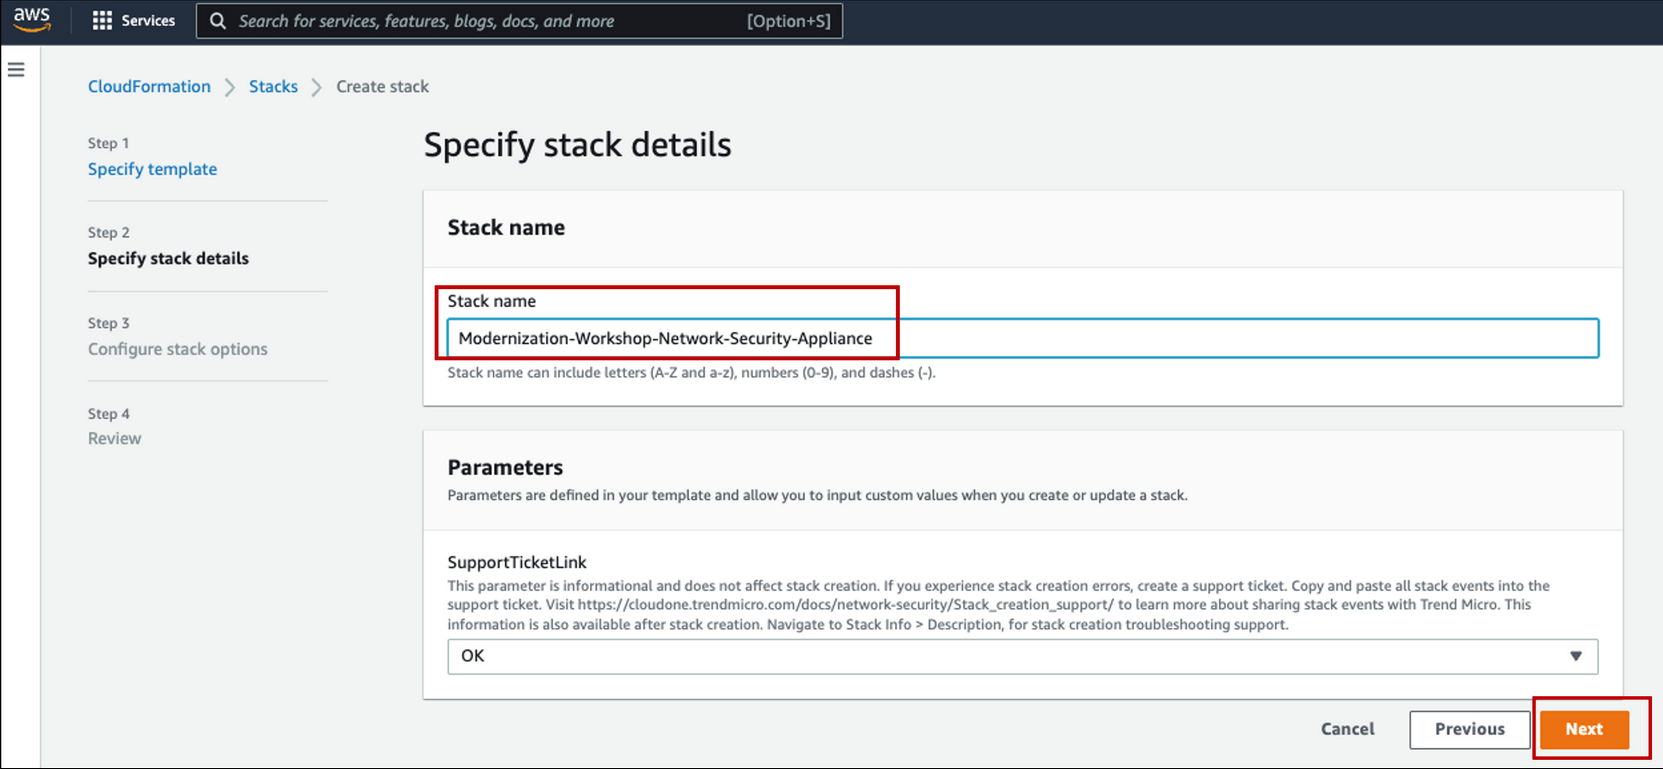
10. Specify Stack details.
- Stack Name:
Modernization-Workshop-Network-Security-Appliance. - Click on Next
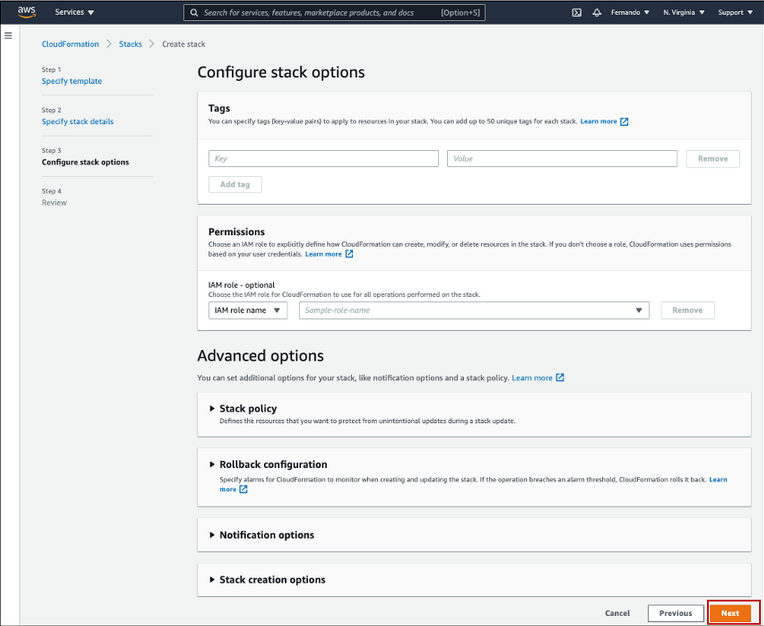
11. (Optional) Configure stack options
- Add Tags if desired
- Click on Next
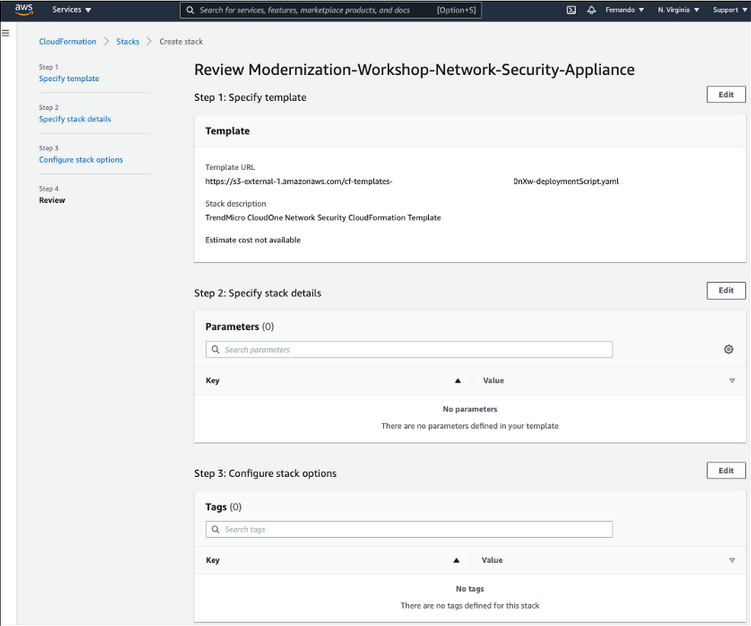
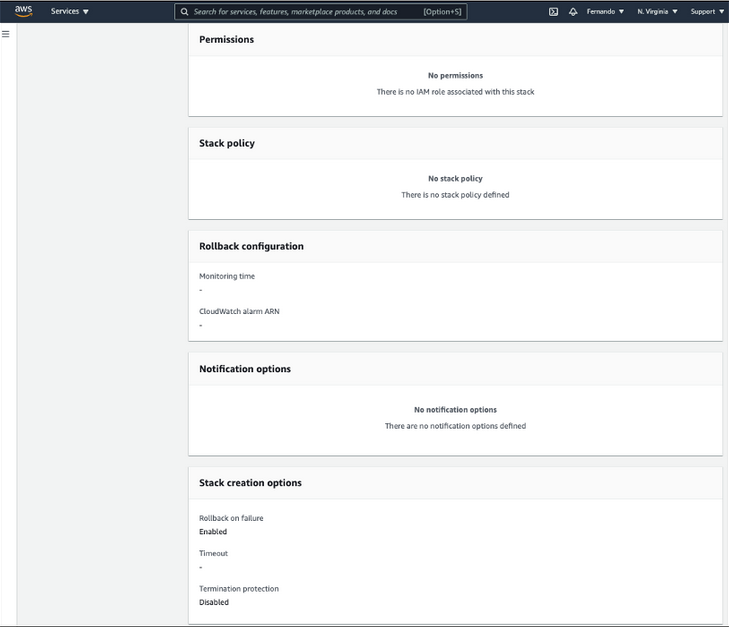
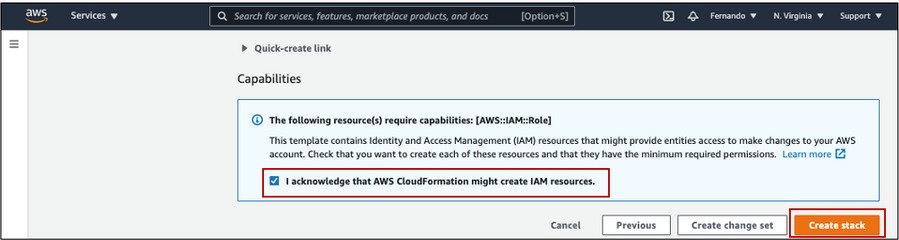
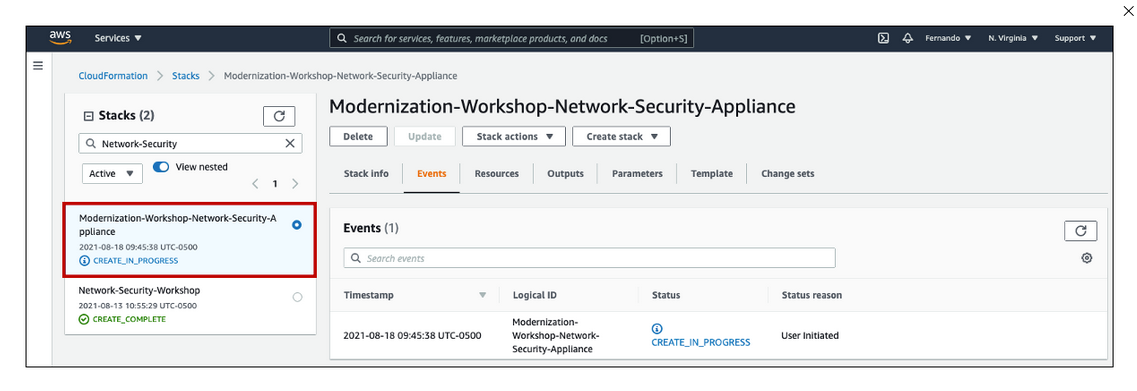
12. Review deployment.
- Check the box “I acknowledge ..”
- Click on Create stack
13. Wait until the successful creation of the stack before you move to the next chapter.
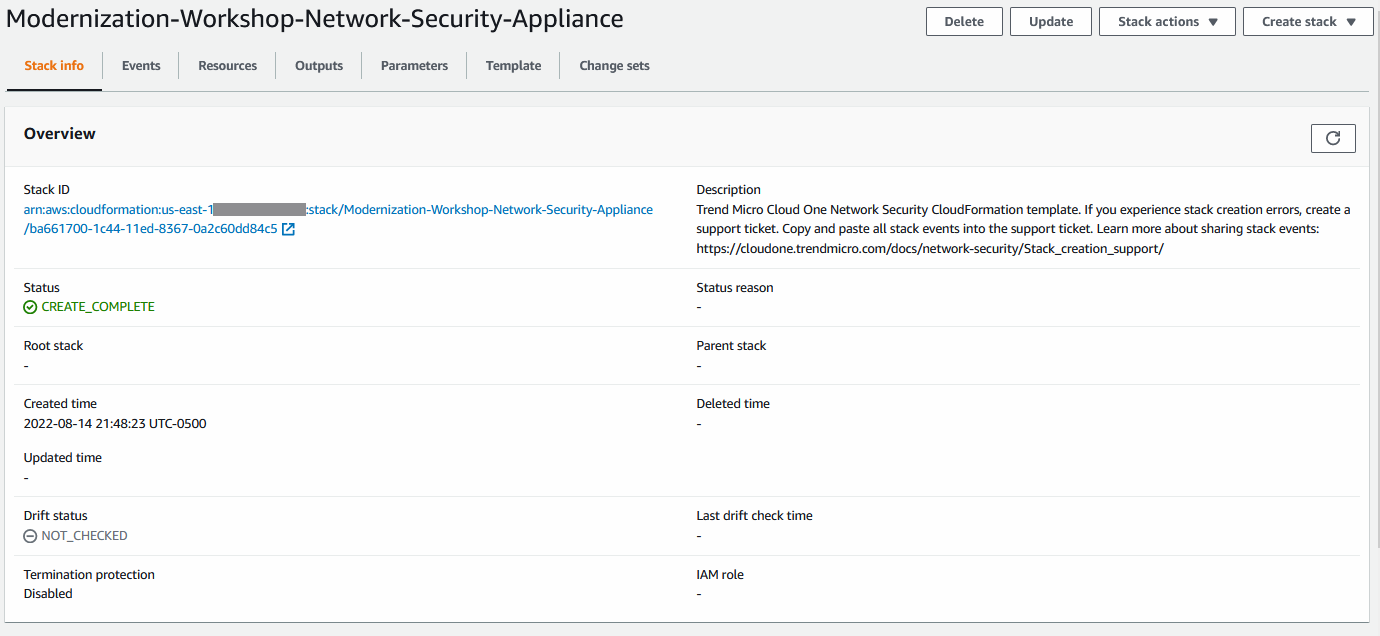
Et voila, we just generated completed the deployment of the Cloud One - Network Security Appliance in our AWS environment 🤩 ☁️ 🤖 🚀